9 Windows 11 features you may not know about
Windows 11 has many features, some of which are hidden from users’ view. In this article, we will learn about some of the hidden features of this operating system.
While more than a year has passed since the introduction of Windows 11, according to the statistics published by StatCounter, its market share has not yet reached 20%. More than two-thirds of users are still using Windows 10 and prefer it to the new version of this operating system; however, sooner or later, Windows 10, like older versions of retired Windows, and more users turn to using Windows 11.
Windows 11 offers new and advanced features compared to the previous version; nevertheless, this version of the operating system has many hidden features that may be difficult for some individuals to find; features that we intend to cover in the following.
1. Access to the old Windows right-click menu
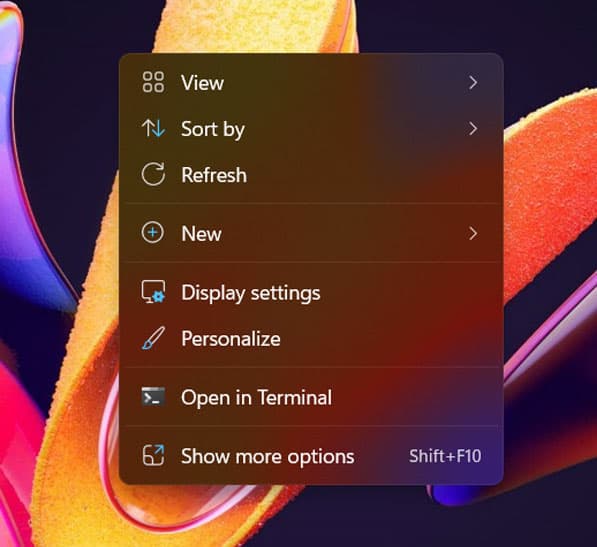
If you right-click in the empty space on the desktop, you will face a new background menu with rounded edges and new options. If you haven’t noticed this before, just right-click to see the difference with the old Windows menu. Although this menu seems much more attractive than the previous menu, many people may prefer the classic version.
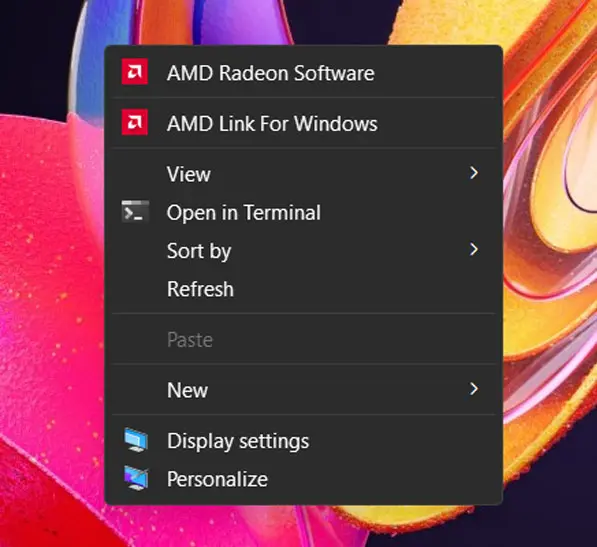
Fortunately, Microsoft has provided the ‘Show more options’ option in the menu for those interested in the old version, and to access the classic Windows desktop menu, you just need to right-click in a section of the desktop or Explorer and select this option. You can also use the Shift+F10 shortcut keys for this.
2. Return the Start menu to its previous location
During the development of Windows 11, Microsoft made a lot of changes; perhaps because they wanted Windows 11 to look different from previous versions. One of these changes that may be annoying for some people is moving the Start menu to the center of the taskbar. While this menu has always been on the left side of the taskbar in all versions of Windows, in Windows 11 it has been relocated to the center of the taskbar, and as we said, many people are unhappy with it and prefer the old location.
To return the Start menu to where it belongs, right-click on the taskbar and go to Taskbar settings. Now select the last option, which is called Taskbar behaviors, and then click on the Left option in the Taskbar alignment dropdown menu.
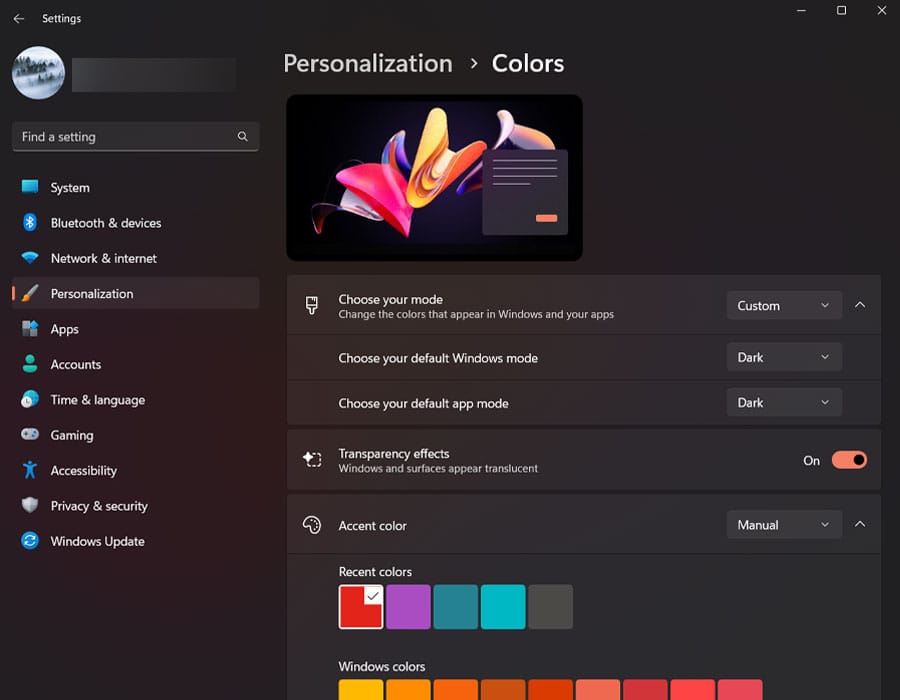
3. Change Dark or Light Mode
You probably know that Windows 11 automatically changes the screen’s dark or light mode based on the desktop background. Changing the dark or light mode seems attractive, but someone may not like the screen to change every time the background image changes, and the programs also appear differently.
If you have the same feeling and want the screen to be bright while choosing a dark background image, you can go to Personalization in the Settings section. Now click on Colors and manually set the computer mode in the Choose your mode section. In this section you will see three options: Dark, Light and Custom. By selecting Custom option, you can change the default mode of Windows and the default mode of programs. If you want the default mode of programs and Windows to be different from each other, you can easily apply your desired settings in the Custom settings.
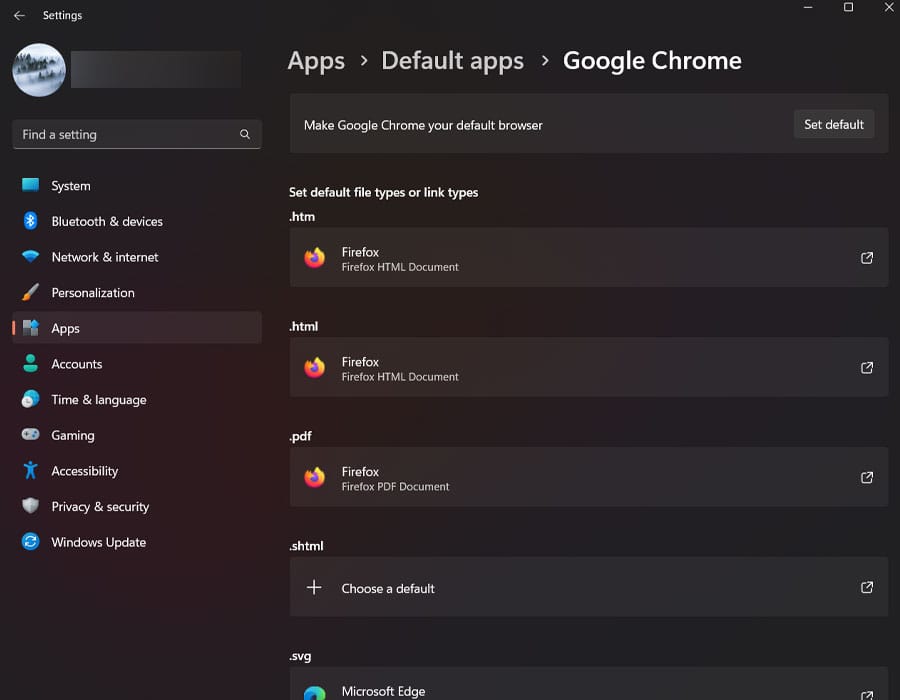
4. Change default apps
Although Microsoft prefers Windows 11 users to use default programs, it also provides the option to replace them with their preferred applications; So if you are a Windows 11 user and do not want to use default software, first install your desired program and then make changes by going to the program settings section.
To do this, click on App in the Start menu and go to Default Apps. Here you can search for the desired program and click the Set default button.
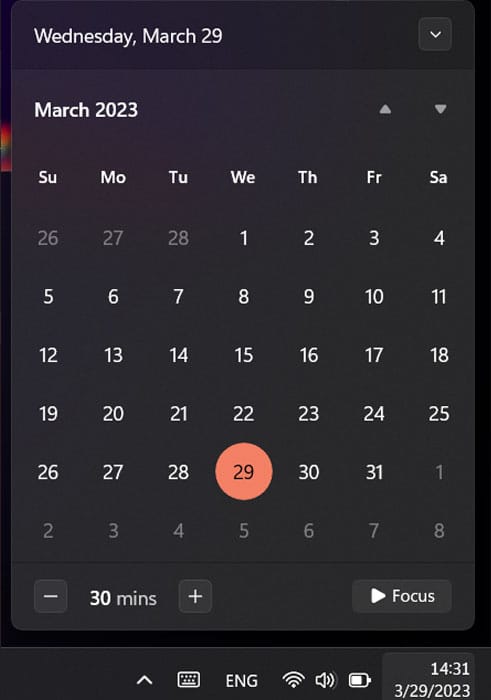
5. Use focus session
When you are working on an important task with your computer, notifications and pop-ups displayed at the bottom of the screen may distract you. Microsoft has introduced the focus session option in Windows 11 for this purpose to minimize distraction. In fact, using this feature will block all notifications and allow you to focus on the task at hand with peace of mind.
There are different ways to start a focus session in Windows 11, which by activating the Do not disturb option, disables notifications and prevents apps from blinking in the taskbar and causing distractions. Besides accessing Focus in the settings section, there is a simpler way. Click on the time in the taskbar and then select the Focus button in the bottom right corner. Here, you can adjust the focus session time as desired and increase or decrease the time using the + and – buttons.
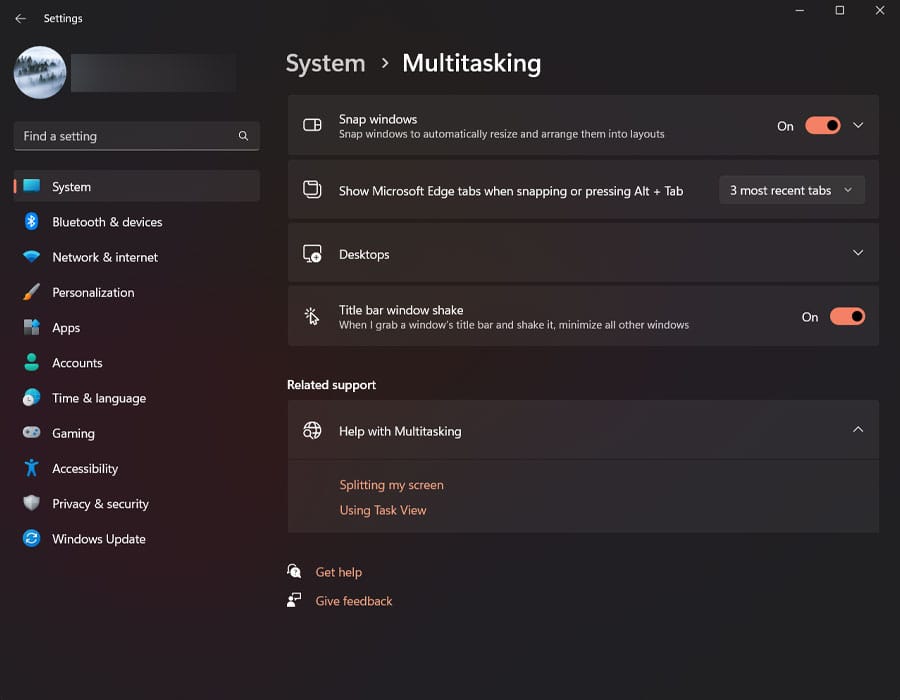
6. Enable Multitasking
If you often have multiple running programs and are looking for a way to minimize them all simultaneously, you can use the Multitasking feature.
By enabling this feature, when you minimize one of the programs or move it to another part of the screen, other windows will also automatically shrink and you will have access to all of them. To enable this feature, go to the Start menu and then to the System section. Now click on the Multitasking option and turn on Title bar window shake.
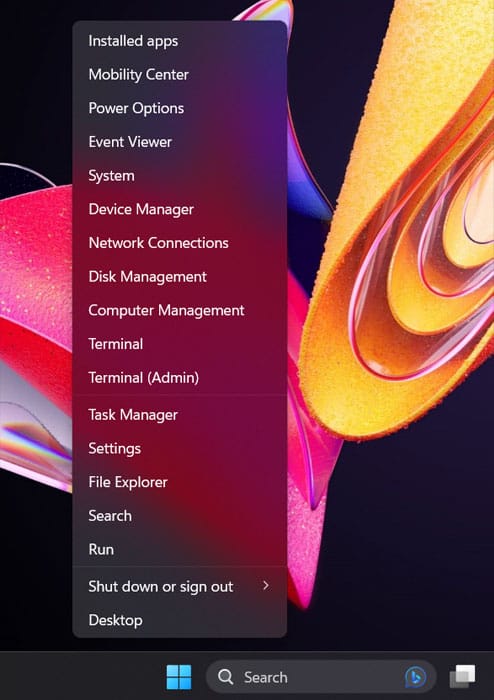
7. Accessing the hidden Start menu in Windows 11
While the Windows 11 start menu provides an easy way to access pinned applications, it does not allow the user to easily access all parts of the computer. Fortunately, there is a hidden start menu that provides a collection of options such as installed programs, settings, task manager, file explorer, terminal, and more. If you right-click on the start menu in the taskbar, you can access more features.
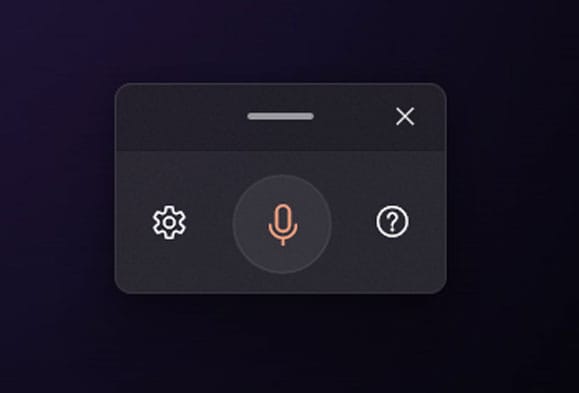
8. Convert audio to text
If you are tired of typing or for any reason you cannot use the keyboard, use the Windows 11 voice-to-text feature. Like previous versions, Windows 11 allows users to convert their voice to text. Since the voice typing feature of Windows 11 uses cloud-based online services to process speech and convert it to text, it provides better performance compared to previous versions; however, you need an internet connection to use it.
To use this feature, press the Windows+H shortcut keys. The microphone window appears and starts recording. Now, just start talking and Windows will automatically convert your words to text.
9. Adjust the sound level of programs
Sometimes the sound level of the programs that you are running simultaneously may be annoying. Windows 11 allows users to manage the volume of each program separately. To access this feature in Desktop settings, go to the System section and then click on Sound. Now, in the Advanced menu, select the Volume mixer option.
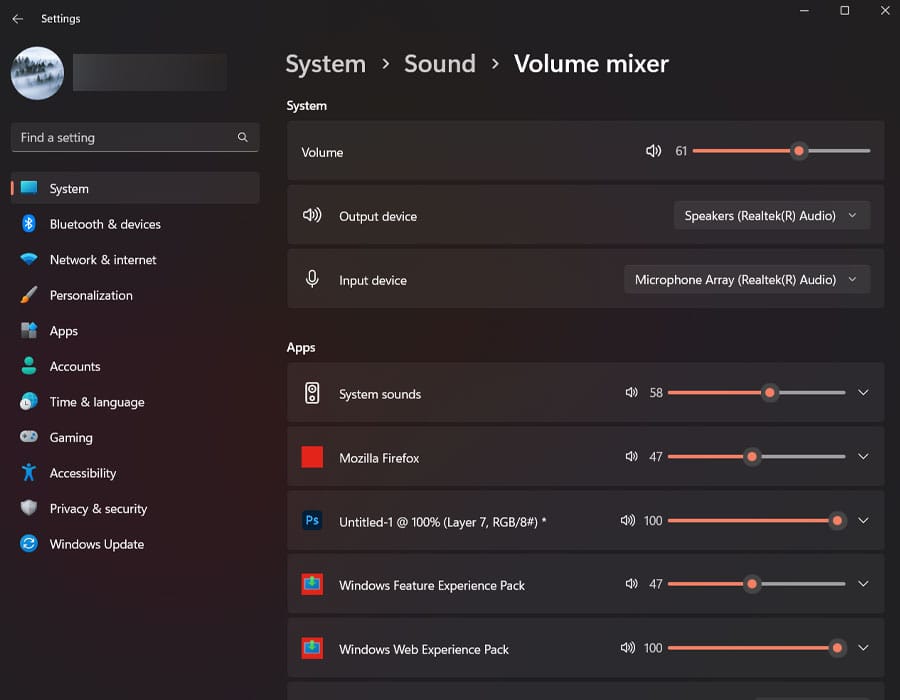
Here you can see all the running programs and by moving each slider bar you can decrease or increase the volume.